

“`html
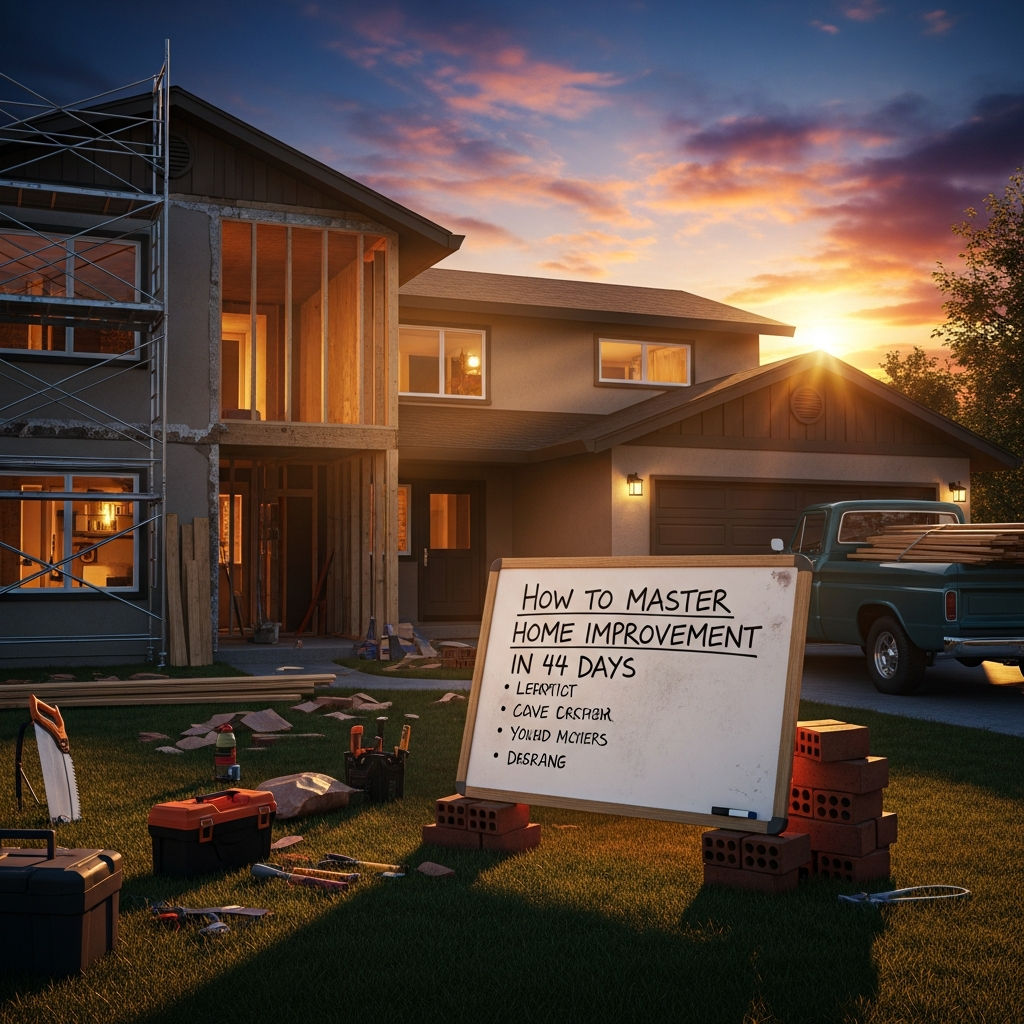
How to Master Home Improvement in 44 Days: The Ultimate Transformation Guide
Many homeowners look at their “to-do” list with a sense of dread. Whether it’s a leaky faucet, outdated wall colors, or a backyard that looks more like a jungle than a sanctuary, the task of home improvement often feels overwhelming. However, you don’t need years of apprenticeship to become proficient at maintaining and upgrading your living space. With a structured 44-day plan, you can go from a DIY novice to a confident home improver.
Why 44 days? It is the perfect “boot camp” duration—roughly six weeks plus a final weekend for finishing touches. This timeframe is long enough to build muscle memory for technical skills but short enough to maintain high motivation. By the end of this period, you won’t just have a better-looking house; you’ll have the skills to handle almost any challenge your home throws at you.
Week 1: The Foundation – Tools, Safety, and Planning (Days 1–7)
Before you swing a hammer, you need to understand the anatomy of your home. Mastery begins with preparation. Spend your first week gathering the “arsenal” and learning the rules of the game.
- Day 1-2: The Tool Audit. Invest in a high-quality cordless drill, a level, a multi-bit screwdriver, a pry bar, and a stud finder. Learn how to use each safely.
- Day 3: Safety First. Familiarize yourself with your home’s main shut-off valves (water and gas) and the electrical breaker box. Knowing how to kill the power or water instantly is the most important skill in home improvement.
- Day 4-5: Measurement Mastery. Practice the “measure twice, cut once” rule. Spend time measuring rooms, windows, and doorways. Understanding dimensions prevents costly mistakes later.
- Day 6-7: The Project Roadmap. Create a master list of every repair needed. Prioritize them by “Urgent” (leaks, safety) and “Aesthetic” (paint, decor).
Week 2: The Power of Paint and Surface Prep (Days 8–14)
Painting is the highest ROI (Return on Investment) activity in home improvement. It teaches you patience, precision, and the importance of prep work.
During this week, choose one room—perhaps a bedroom or a home office—and commit to a total refresh. Master the art of “cutting in” with a brush without using painter’s tape, which is the hallmark of a true pro. Learn how to patch drywall using spackle and a sanding block. By Day 14, your ability to transform a space using color will be your first major “win” in the 44-day journey.
Week 3: Plumbing and Electrical Basics (Days 15–21)
This is where most beginners get nervous, but basic maintenance doesn’t require a license—just care and a following of protocols. Mastery in Week 3 focuses on “swapping” rather than “re-wiring.”
- Fixing Leaks: Learn to replace a sink aerator or a showerhead. These small fixes improve water pressure and save money.
- The Toilet Reset: Master the anatomy of a toilet tank. Learn how to replace a flapper or a fill valve.
- Light Fixtures: Learn how to safely swap an old, dated light fixture for a modern one. Always use a voltage tester to ensure the power is truly off.
- Outlet Upgrades: Replace a standard outlet with a USB-compatible one. It’s a simple three-wire process that modernizes your home instantly.
Week 4: Intermediate Carpentry and Tiling (Days 22–28)
Week 4 is about precision. Carpentry and tiling require an eye for detail and an understanding of levels and spacers. This is the “craftsmanship” phase of your 44-day masterclass.
Start with a small project, like a kitchen backsplash or a laundry room floor. Tiling teaches you about thin-set, grout, and layout. If tiling feels too advanced, focus on “finish carpentry,” such as installing crown molding or baseboards. Learning to use a miter saw to cut 45-degree angles is a skill that separates the amateurs from the masters. Once you can make two pieces of wood meet perfectly in a corner, you have reached a new level of home improvement proficiency.
Week 5: Energy Efficiency and “Smart” Upgrades (Days 29–35)
A master of home improvement doesn’t just care about how a house looks; they care about how it performs. This week is dedicated to the “invisible” improvements that lower utility bills and increase comfort.
- Weatherization: Learn to apply caulk around windows and install weatherstripping on doors. This prevents drafts and saves on heating and cooling.
- Smart Home Integration: Install a smart thermostat. This involves understanding “C-wires” and low-voltage wiring, a great bridge from basic electrical work.
- Insulation: Check your attic or crawl space. Learning how to properly lay fiberglass batts or foam sealant can dramatically change the “feel” of your home’s climate.
Week 6: Curb Appeal and Exterior Maintenance (Days 36–42)
Your home’s exterior is its first impression. Mastery here involves understanding how to protect your home from the elements. This week, we step outside to tackle the “envelope” of the house.
Start with a power washer. Learning the right pressure settings for different surfaces (brick vs. wood) is a vital skill. Clean the gutters—a simple task that prevents thousands of dollars in foundation damage. Finally, try your hand at basic landscaping. Learn how to edge a lawn, mulch a garden bed, and prune shrubs correctly. These tasks might seem mundane, but they are the bedrock of property value maintenance.
The Final Countdown: The Snag List and Celebration (Days 43–44)
On Day 43, go through your house with a “Snag List.” This is a professional term for a list of small, unfinished details. Maybe a screw is loose on a cabinet door, or there’s a paint drip on a baseboard. Spend this day polishing your work. Mastery is found in the final 5% of a project.
On Day 44, take “After” photos of everything you have accomplished. Compare them to your Day 1 photos. The transformation isn’t just in the walls and floors; it’s in your ability to look at a problem and know exactly which tool to grab and which technique to apply.
Essential Tips for Staying on Track
- Document Everything: Take photos of your wiring and plumbing before you take them apart. It serves as a visual map for reassembly.
- Watch the Professionals: Use YouTube as a secondary mentor. For every task you attempt, watch at least three different experts perform it to see different approaches.
- Don’t Cheap Out on Consumables: Use high-quality sandpaper, premium paintbrushes, and professional-grade caulk. Good materials make an amateur’s work look professional.
- Manage Your Energy: Home improvement is physically taxing. Plan lighter tasks for the middle of the week and heavy lifting for the weekends.
Conclusion: Beyond the 44 Days
Mastering home improvement is a journey that doesn’t truly end, but the 44-day mark represents a significant milestone. You have moved from a state of “unconscious incompetence” (not knowing what you don’t know) to “conscious competence” (knowing how to do things with focus and effort).
The confidence you gain by fixing your own home ripples out into other areas of your life. You become a better problem solver, a more patient planner, and a more steward-like homeowner. Whether you plan to sell your home for a profit or live in it for the next thirty years, the skills you’ve mastered in these 44 days will serve as a foundation for a lifetime of craftsmanship.
“`


